Summer weather is here (well, in Seattle it’s just starting to feel like summer). It is the season for cold coffees. You can make your own cold brew at home. It’s very easy!
Here’s my favorite method of making cold brew:
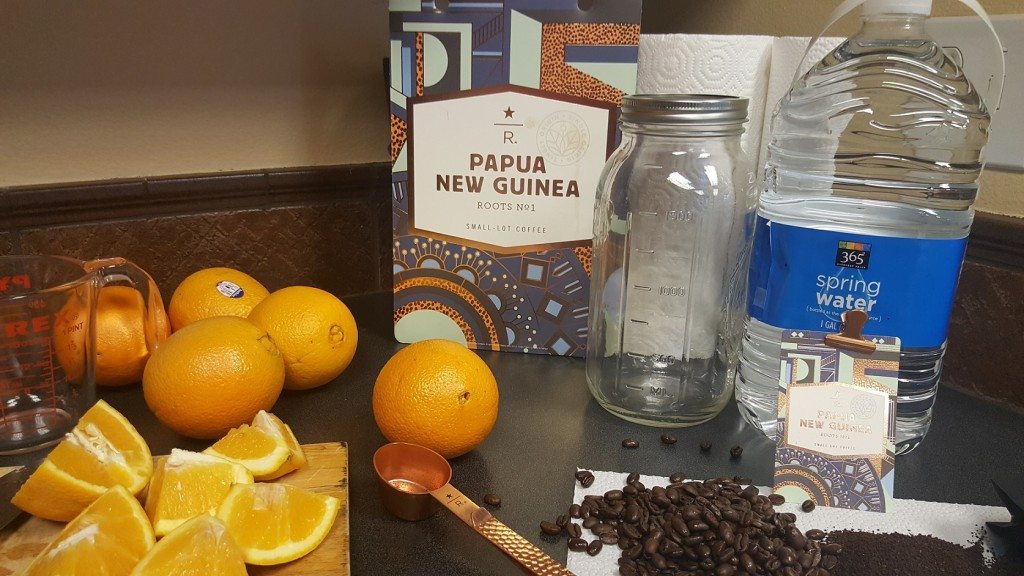
Gather up some things you’ll need:
- A very large mason jar (you should have at least one of these jars, ideally you really need two big mason jars.)
- Fresh coffee ground coarse (ask for a French press grind)
- Oranges (You really only need one orange, but have at least 2 handy so you can eat one as you are making your cold brew).
- #4 paper filters
- A Melitta cone or any other pour over cone.
- Fresh, filtered water
You will need a few basics which every kitchen should have. You’ll needs a way to measure a tablespoon of coffee, a measuring cup, and of course a way to cut the oranges.
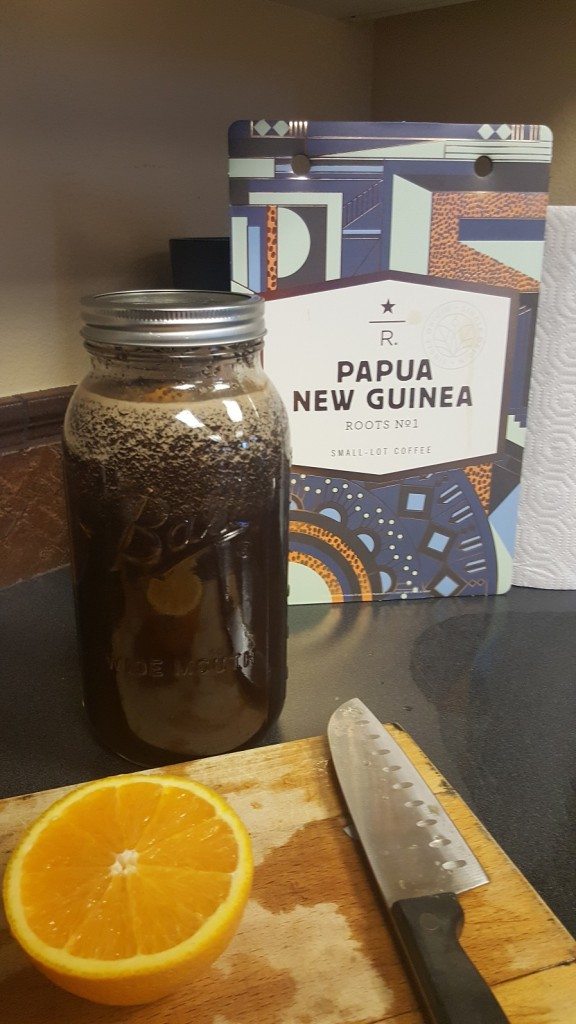
Here’s my set up to start making cold brew coffee:
You don’t have to use Papua New Guinea Roots No. 1 for your cold brew. You can use a wide variety of coffees. You might want to try this with the Congo Lake Kivu coffee. If you want to grab a core coffee at Starbucks, pick up a pound of Kenya.
I highly recommend this with the Papua New Guinea Roots No. 1:
This coffee comes from the southwest Pacific Island of Papua New Guinea where coffee farming is punctuated by the complexities of many different languages spoken and lots of lots of very small backyard coffee farming.
In one region of Papua New Guinea, 400 farmers combined their backyard crops and formed a collective, buying a processing mill. This allows them to control every step of the coffee processing from growing to trading.
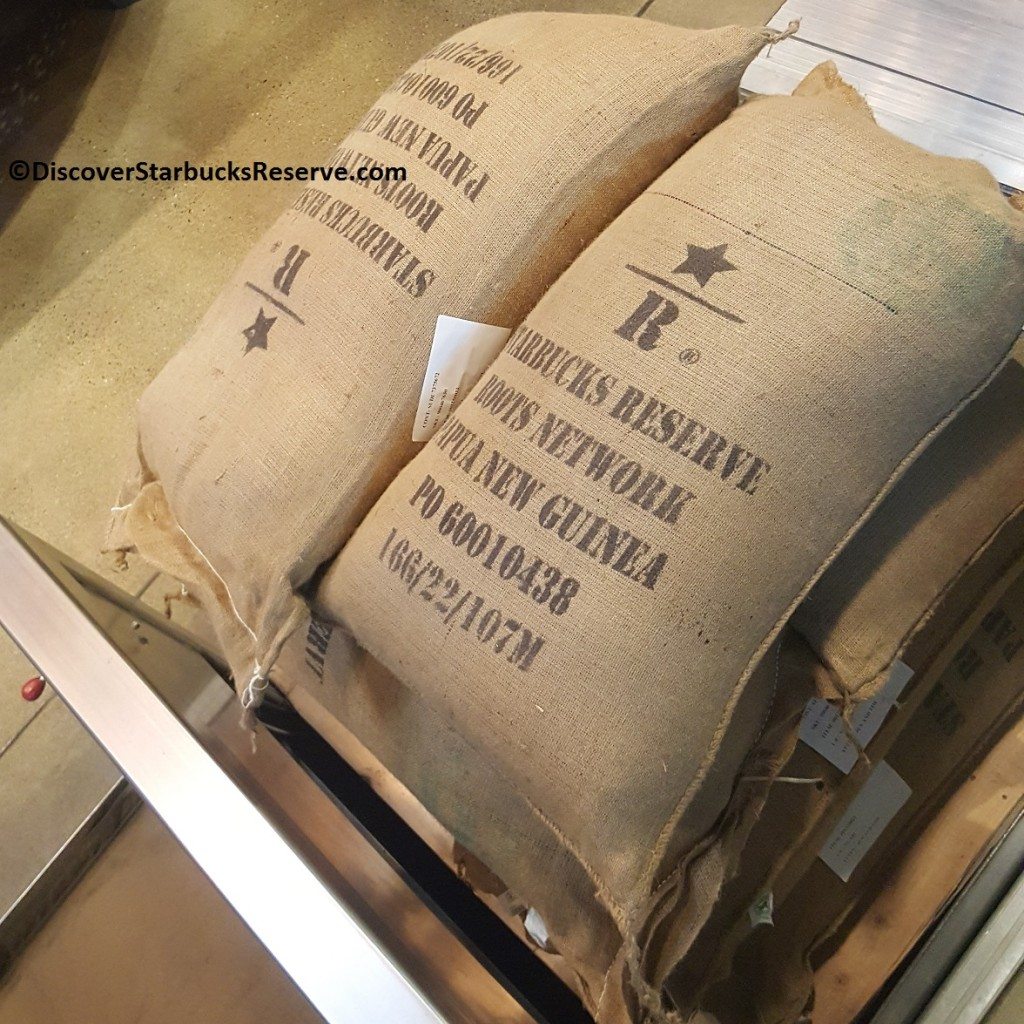
Here’s the burlap sacks this coffee comes in:
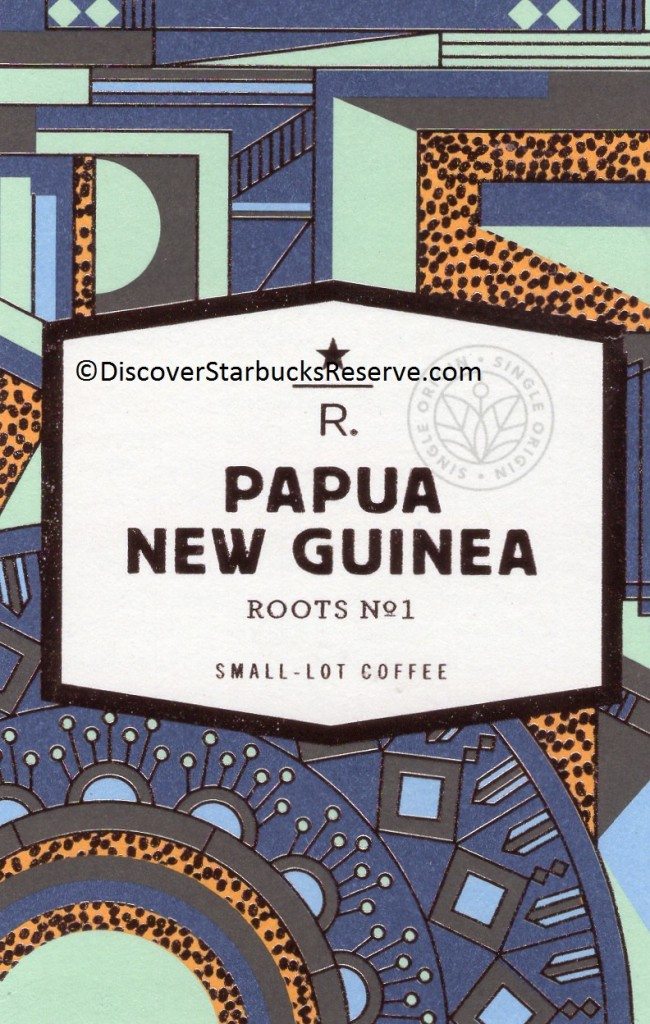
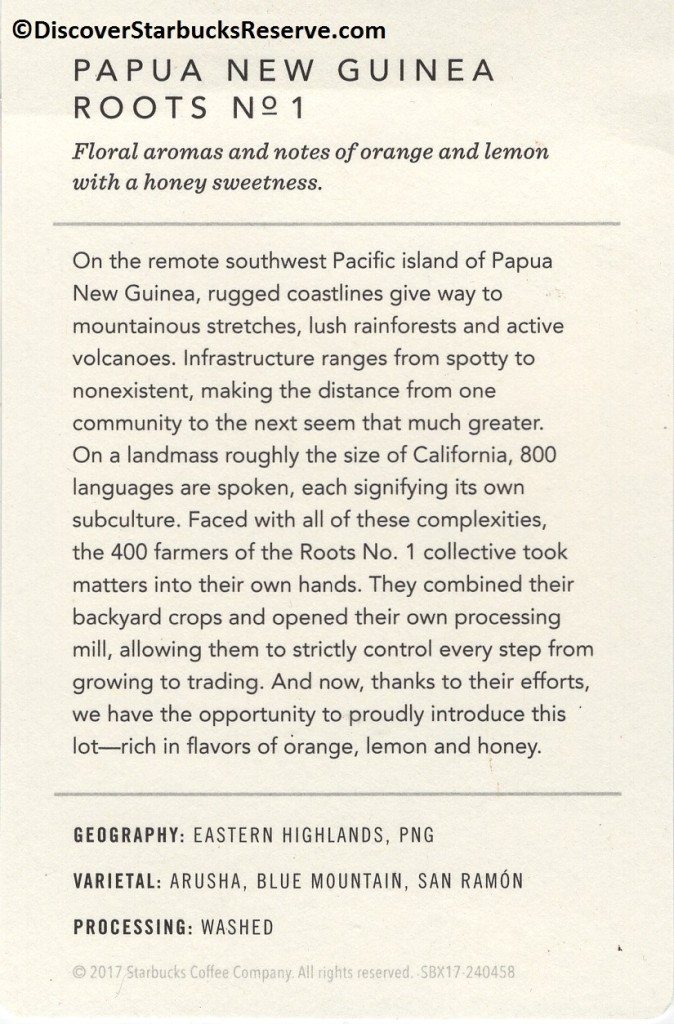
Take a look at the coffee tasting card that goes with this coffee:
The design of the card is inspired by the rituals of Papua New Guinea natives. People of the highlands engage in local colorful rituals known as “sing sings.” Participants paint themselves and wear headdresses made of feathers, pearl, or animal skins to represent birds, trees or mountain spirits. The card’s design focuses on the culture of Papua New Guinea with geometric and patterns representing ceremonial face paint or the style elements of the headdresses.
The flavor notes for this coffee include floral aromas with flavors orange and lemon, and a honey sweetness – perfect for cold brew!
You’ll find Papua New Guinea Roots No.1 at select Starbucks locations which offer a larger array of Reserve coffees. Not every Starbucks that has Reserve coffees has THIS coffee. Look for it at Reserve Bars, or other locations which tend to be very coffee forward stores. Here in Seattle, you’ll find Papua New Guinea Roots No. 1 at University Village Starbucks, East Olive Way, and the Reserve Bar at 1st and University.
Let’s talk about the steps of the easy cold brew:
- Slice an orange
- Measure out 6 cups of water. (If you are using a big jar with cup markings on the side, just fill to the 6 cup marking before adding any other ingredients).
- Use 16 level tablespoons of freshly-ground coffee. Make sure your coffee is fresh and not expired. We are following the four fundamentals of a great cup of coffee!
- Combine coffee, one sliced orange, and water in a big jar
- Set aside for 12 to 24 hours. (Set on a counter top, out of direct sunlight. Don’t put it in your fridge. The coldness of a fridge will slow down the extraction of the coffee.)
You might need to gently swirl everything together in the jar.
Now your coffee is just sitting there working its magic.
How long should you wait? The standard for cold brew coffee is anywhere from 12 to 24 hours brew time. I like a 20 hour brew time – this is the Starbucks standard brew time for their cold brew sold at Starbucks locations everywhere.
Come back and filter the coffee. So here’s the second set of instructions:
- Use a paper filter and pour over and pour from one jar to another to filter.
- You may need to use multiple filters.
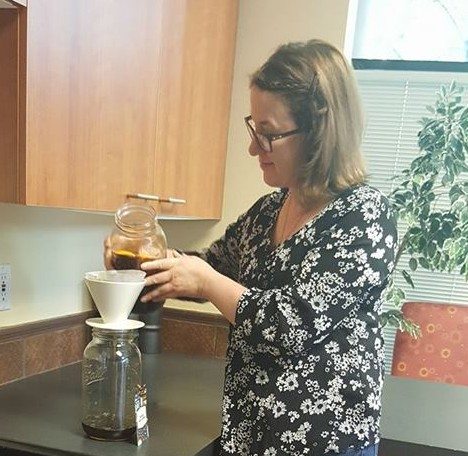
Here’s me pouring from one jar to another:
I was using the kitchen in my building’s community room (because my own kitchen is a mess) and a neighbor walked by and saw me. I said, “Kathy, take a picture!” And Kathy (the neighbor) snapped the above pic.
If you run into me at the Roastery, say “Hello!”
You need some important tips for your cold brew:
Filtration tips and ideas:
- Don’t want the hassle of filtering at the end, or want much easier filtering at the end? Use a sock! Consider taking your many tablespoons of ground coffee and measuring them into a clean nylon sock. Tie the end of the sock and drop it into the jar. When you’re ready to drink your final cold brew, just pull out the orange slices and sock! If you do this, in my opinion you may be okay to just drink the final cold brew, but I like to still do a filtering of it at the end, as shown above.
- Here’s another filtering idea: I’ve heard of people using cheesecloth and some kind of funnel to filter. I’ve never tried that, so I don’t know how it works.
Tips on flavor and taste:
- I know a lot of people who recommend doubling the amount of coffee for cold brew. That means that you would follow the exact recipe as above, but instead of using 16 tablespoons of coffee, you would use 32. People who advocate for more coffee usually do so for 2 reasons: Either they want to make a concentrate that they later cut with water (so they ultimately effectively make twice as much cold brew) or they like the much stronger flavor when drinking cold brew with a lot of ice. As your ice melts in your cup, you can end up with watery coffee. I personally like the standard recipe: I never cut my cold brew with more water, and I guess I drink it quickly enough that the melting ice situation doesn’t trouble me.
- You can jazz up your cold brew with a variety of fruits. You can even make a “Coffee Sangria”. Here’s an example of a coffee sangria.
- You really do need a nice coarse grind. If you buy your coffee in a Starbucks store (or at the Roastery) ask your barista to grind your coffee for a French press grind.
Many people are fans of devices designed to make brewing cold brew easier. You can use a Sowden Softbrew for cold brew, or a Coffee Sock kit, or even something like the Coffee Panda. I have never tried the Coffee Panda. I have used the Coffee Sock kit and definitely recommend it. I also think that the Sowden Softbrew works nicely too. With the Sowden, I noticed that I still needed a little filtering at the end.
Whatever you choose to do, make sure your water is fresh and filtered, your coffee is not expired, and make sure you are using 2 tablespoons of coffee for every 6 ounces of water. (Or 4 tablespoons of coffee for every 6 ounces of water if you’re in the camp of cold brew drinkers wanting to make a coffee concentrate).
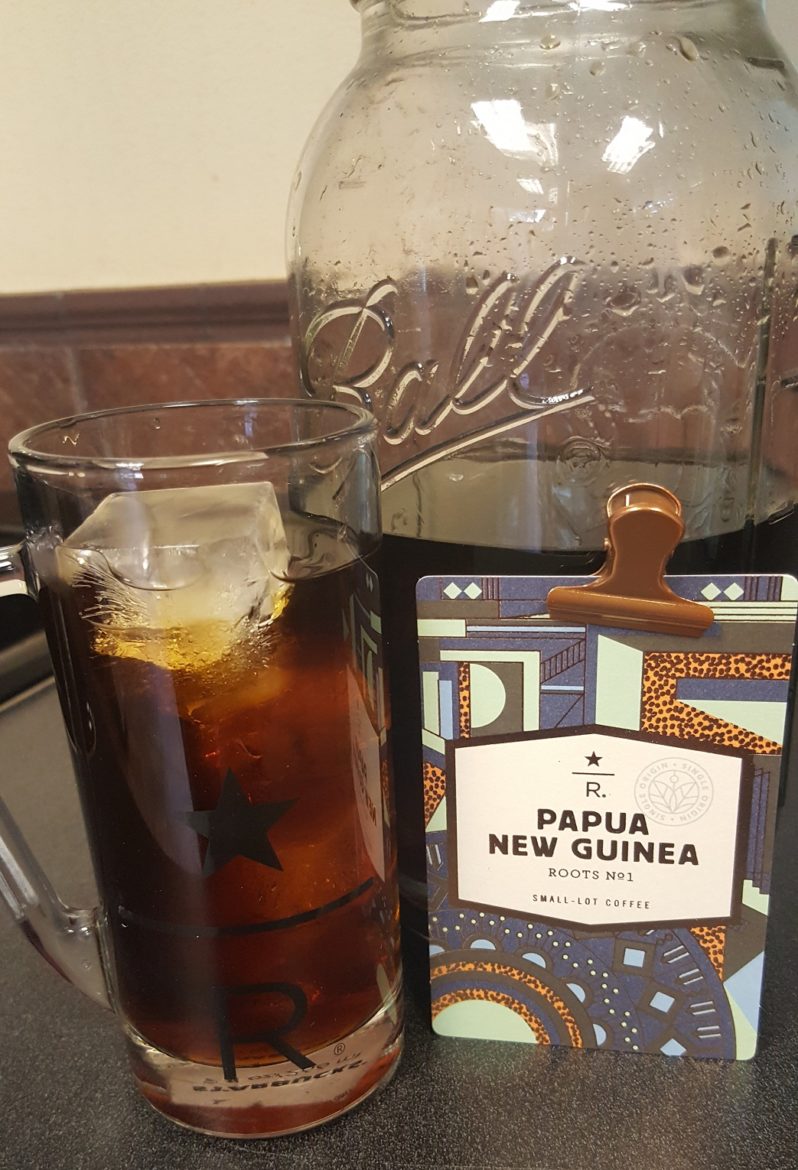
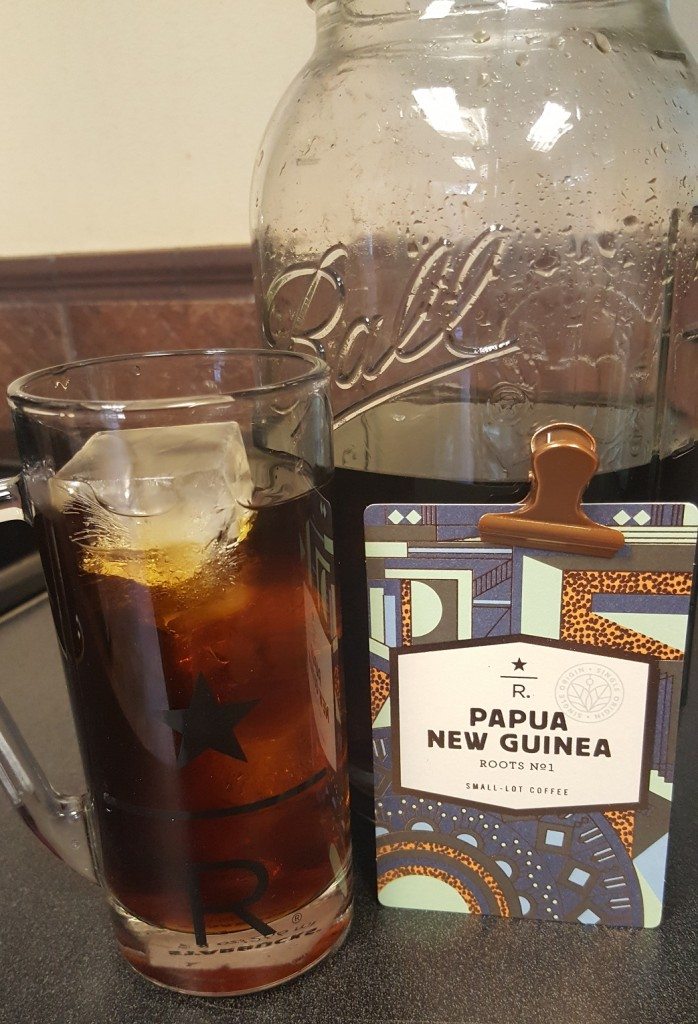
Here’s the final coffee! Delicious!!!
Enjoy! I love hearing about cold brew brewing adventures! If you make cold brew coffee at home, tell me your tips and tricks! And feel free to comment and ask questions.
*************************
I don’t usually comment on blog design, but for a while now I’ve been unhappy with the design of this website. I still have not decided what I will do. I’m contemplating several options. This StarbucksMelody website doesn’t look so great on a mobile device, and about 70% of readers view StarbucksMelody from some kind of mobile device. If you want to view this exact same cold brew article on a different style website (and to be clear, I’m genuinely not sure if I’ll switch to that site design) you can click here to view this cold brew article on a much more mobile-device friendly website. You can poke around that site and find all the StarbucksMelody articles there as well as here.
Related posts
6 Comments
Leave a Reply Cancel reply
You must be logged in to post a comment.
Sponsors
Recent Comments
- DEVIN on Compostable Straws Land in Seattle Starbucks Stores
- coffeebeanz on Why do you go to Starbucks less often? (If that’s true for you)
- Willi on You can now buy a Siren statue: $6,000
- Willi on A major revamp of your drink recipe: Testing syrup extracts and cane sugar
- Skip on Why do you go to Starbucks less often? (If that’s true for you)




Hi Melody,
I am seriously going to try your cold brew method. I have been looking for one that will not leave grounds in my cup. Perhaps the Coffee Sock is for me.
Also, I like the Square Space site for mobile. I read your post through Feedly RSS reader.
Thank you for all you do.
What’s the orange for?
@LawrenceFeldman – Flavor! You can make a coffee cold brew a lot more exciting with fruity flavors by the coffee steeping with fruit! That’s why you pick a coffee like Papua New Guinea Roots No. 1 which has lots of natural orange flavor to enhance.
I use this Japanese setup. No fuss, no mess. The link is straight from amazon.
https://www.amazon.com/Hario-Mizudashi-Coffee-Maker-1000ml/dp/B00I7JKAQ0/ref=sr_1_5?s=home-garden&ie=UTF8&qid=1494479519&sr=1-5&keywords=cold+brew+coffee+maker
Melody, what is your next recommendation on coffee beans? I can’t get Papua in my area. Hope you can recommend one or two others I want to make some tonight for tomorrow.
Thank you
Jeff,
I use Guatemala Casi Cielo for my cold brews at home. Turns out great every time! And of course you can use Narino 70 which is what they use in the stores.