
I get asked surprisingly often, “do you recommend a way to brew coffee at home?” A friend at work recently asked me, “Melody, I buy Peet’s Major Dickinson coffee for home. How do you suggest making a perfect single cup of coffee?”
This is your big “how to make coffee at home” article.
First off, there are a million ways to make coffee. I know friends who use all of these brew methods: Aero Press, Clever Dripper, Chemex Coffee Maker, Coffee Pour Over (which could be a plastic or ceramic pour over), the French press, and Espro Coffee Press. There are more brew methods but those are some of the more common ones.
I’m going to feature brew methods that I might actually use at home (or do use at home) – I look for easy brew methods that make one or two perfect cups of coffee.
First off: Choosing Your Coffee.
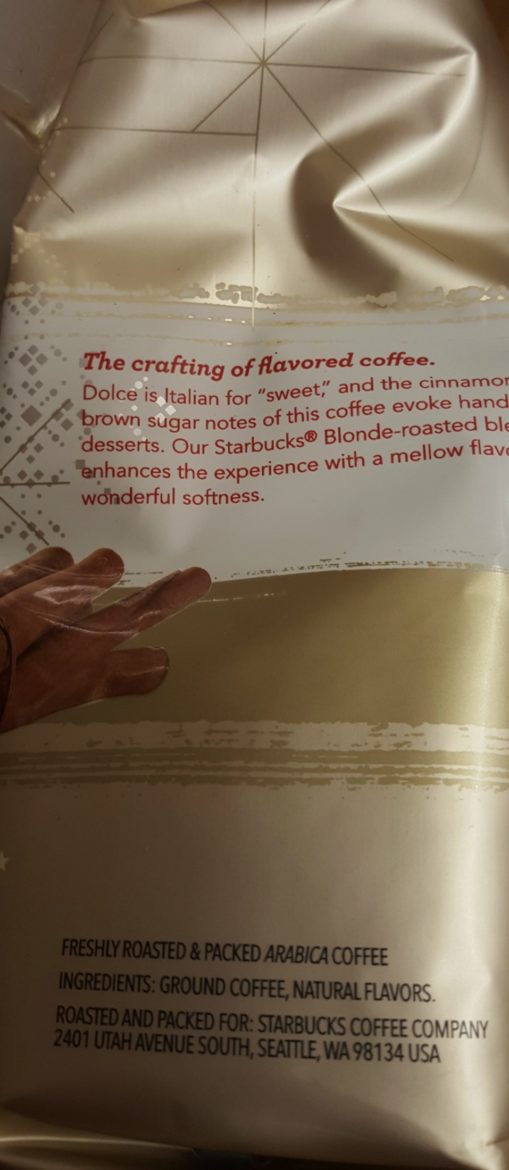
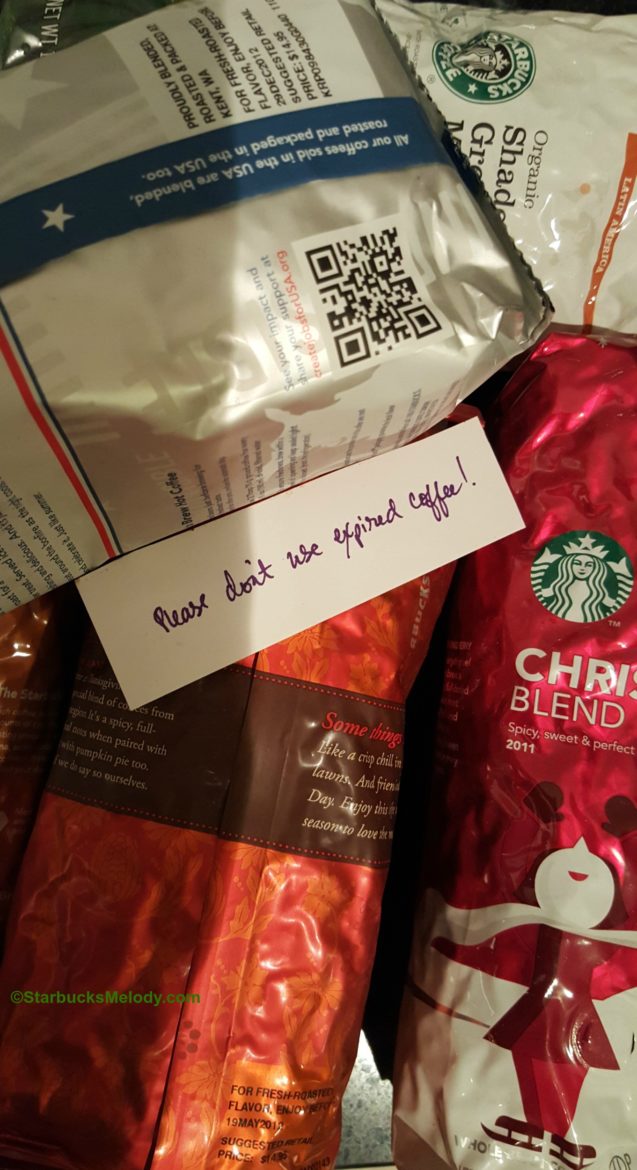 First off, make sure you’re using fresh coffee. Check the back for the expiration date. Coffee is perishable. No matter how tempting it is, do not use expired coffee. Once you open that bag of coffee, use the whole thing within 7 days. Don’t store coffee (which has been opened) longer than 7 days. Don’t store unopened coffee beyond the expiration date. Don’t try storing it in your freezer. After 7 days, toss out any unused coffee. So start with a bag of coffee that is NOT expired, and that has been open less than 7 days.
 Treat freshly-roasted coffee a little different than other coffee: The only slight exception to the paragraph above is if you have purchased freshly-roasted coffee. I mean like, literally you bought coffee that was just roasted within a day or two of when you bought it. This is sometimes called hand-scooped coffee because the barista may scoop it into a bag right in front of you! Look at the date the coffee was roasted. Add five to eight days from the roasted-on date to figure out the time for degassing. For coffee that is not in flavorlock packaging (as above), use the coffee no more than 15 days from the date of roasting for best flavor. You have 7 days from the degassing period to use your freshly-roasted coffee. By the way, I’ve never seen any written Starbuckian guideline that says this 15 day period that I suggest. However, plenty of Roastery baristas have told me “about two weeks” for hand-scooped coffee, and many have said “up to 8 days for degassing.” A maximum of 8 days for degassing and 7 days for freshness is 15 days.
Make Sure You Have a Few Coffee Essentials:
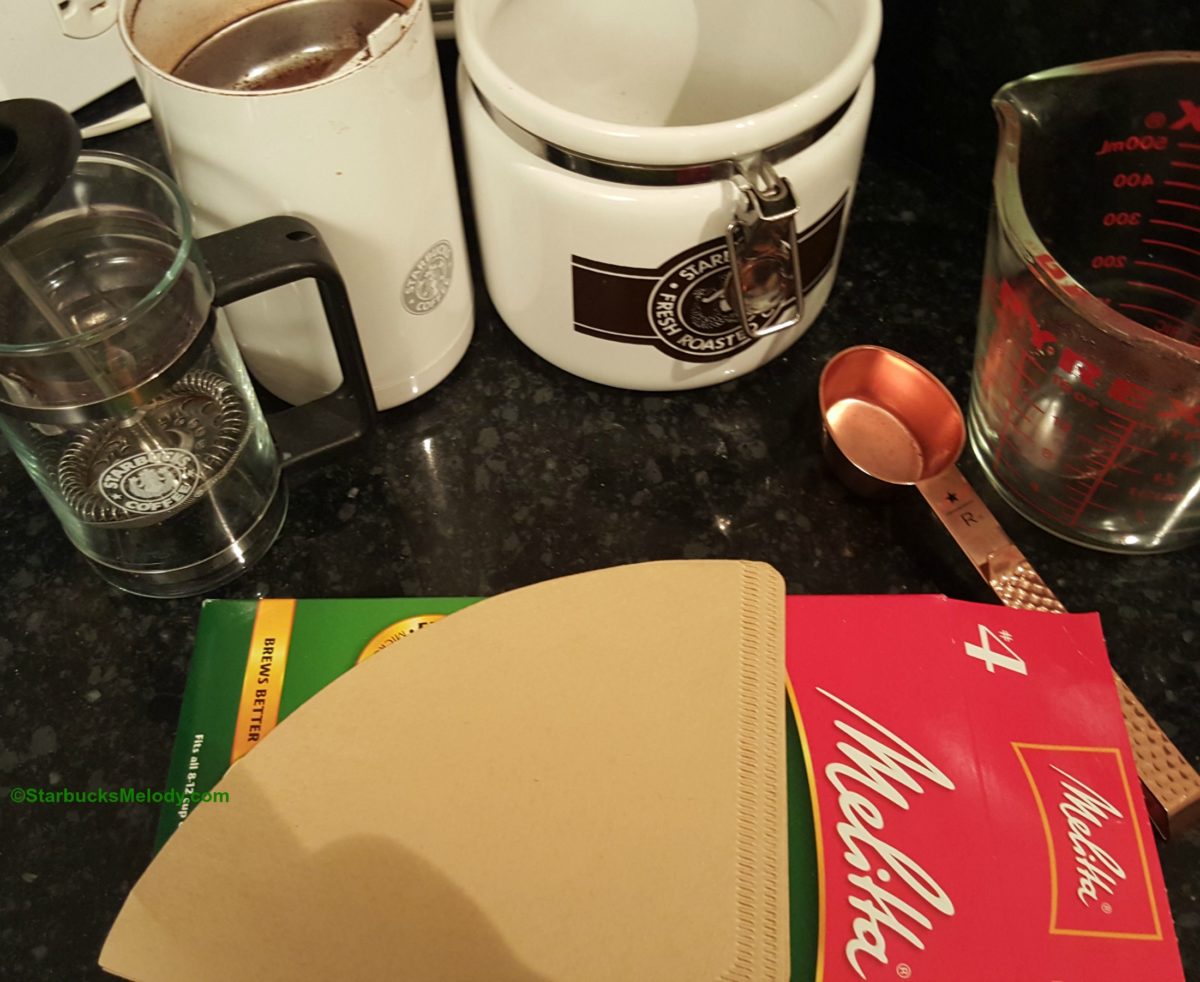 Next gather up a few essentials that you might want to have handy. For two of the brew methods in this article, you’ll need a #4 paper cone filter.
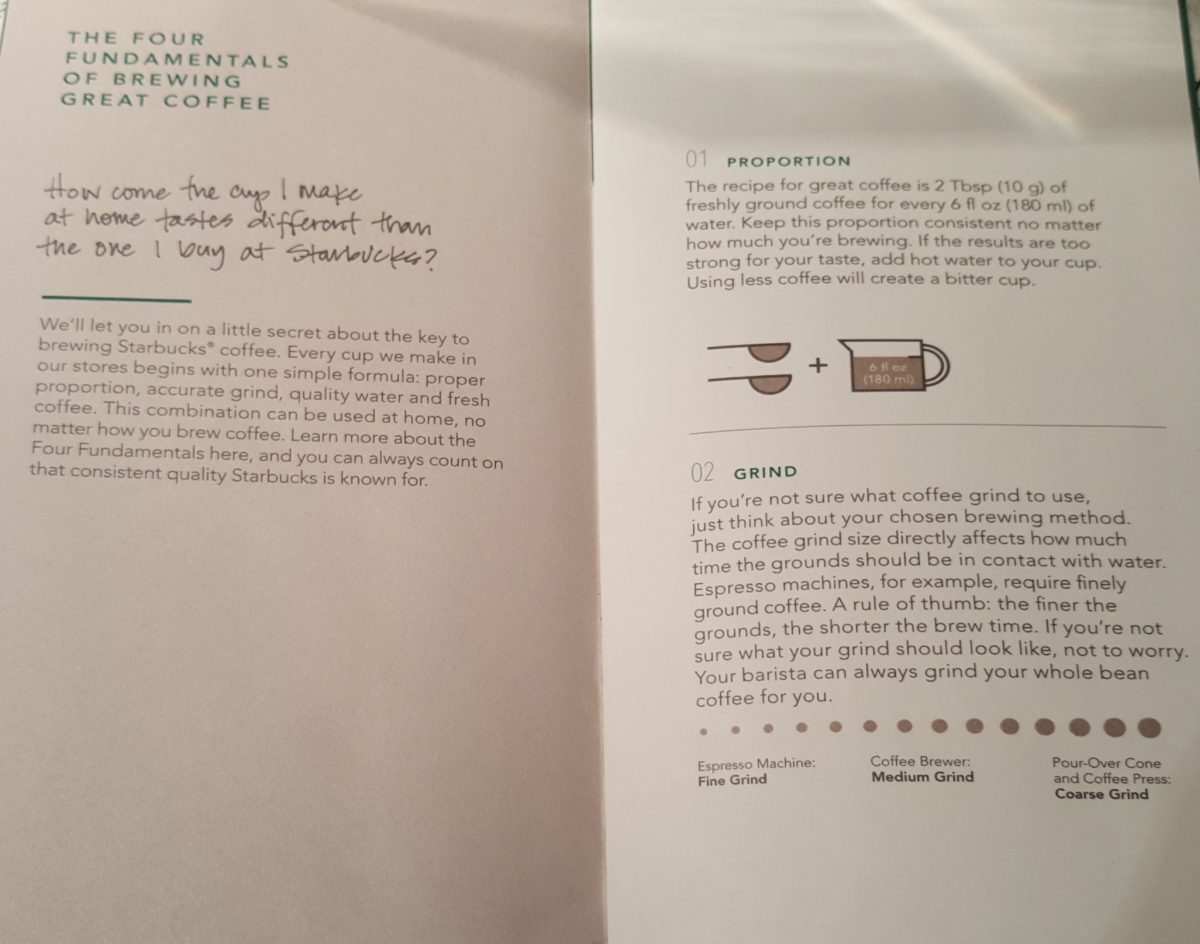
Use 2 tablespoons of coffee for every six ounces of water: No matter which brew method you pick, use two tablespoons of coffee for every six ounces of water. Of course, you can use a standard tablespoon to measure the coffee, but I happen to especially like the copper measuring scoop shown: It’s exactly 2 tablespoons. I consider a single cup of coffee to be about 12 ounces – a “tall” cup of coffee, so I automatically measure 4 tablespoons of coffee to 12 ounces of water. The copper two tablespoon measuring scoop is available at the Roastery.
 I do know plenty of Starbucks partners who describe to me that they use a scale at home to measure out exactly 10 grams of coffee for every six ounces of water. This usually is going to be about 2 tablespoons but if your grind is especially fine or course, you might not have exactly 10 grams of coffee. I don’t use a scale at home, but using a scale to measure would be a little more ideal for making coffee.
Use the right grind for your brew method: You’ll need to have the right grind for the brew method you choose. Ideally, you should use a nice burr grinder at home that creates an even grind. For a French press, use a course grind. Shown in the photo above is my old blade grinder from the 1990s. I know that many true coffee masters cringe at that. The easiest thing you can do is buy coffee at Starbucks and tell the baristas your favorite home brewing method. Ask your baristas to grind your coffee for you.
If you’re buying pre-ground coffee at your local grocery store, this is usually ground for some sort of paper filter brew method.
Use filtered water: Ideally, you should use a nice filtered water for your coffee. I’ll admit, I don’t always do that at home. I live in Seattle where the tap water is pretty good, nonetheless, you should use a filtered water for your coffee.
So you’ve picked out some coffee. You’ve got a few measuring utensils and filters. You’re ready to go.
First brew method: The Clever Dripper:
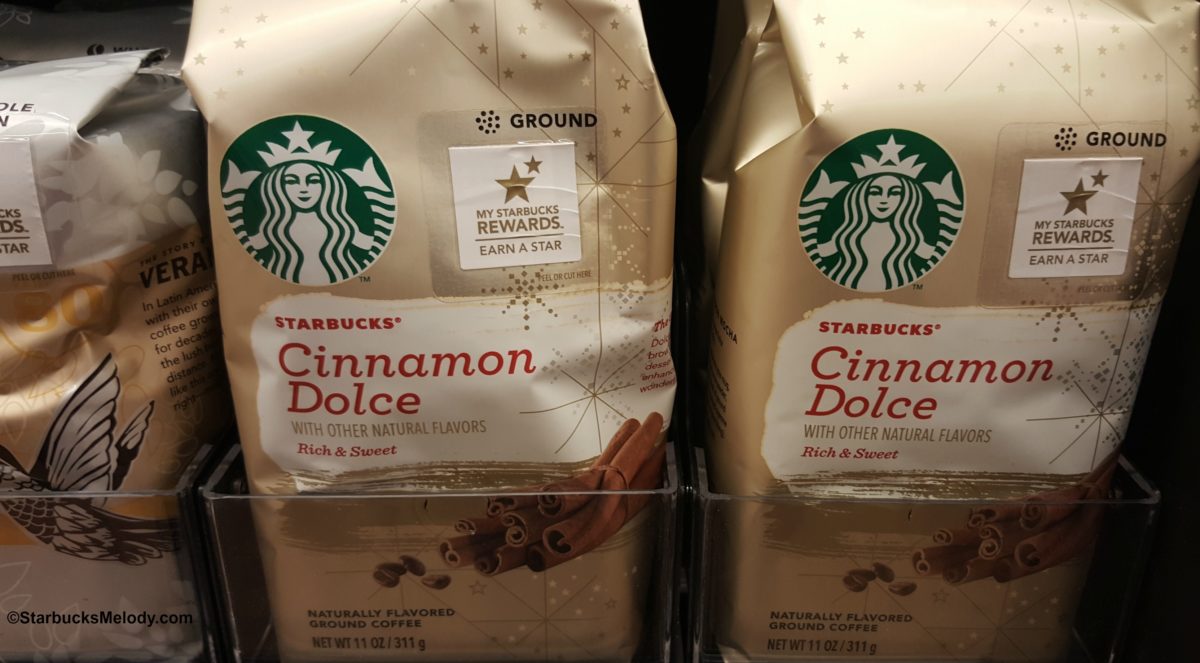
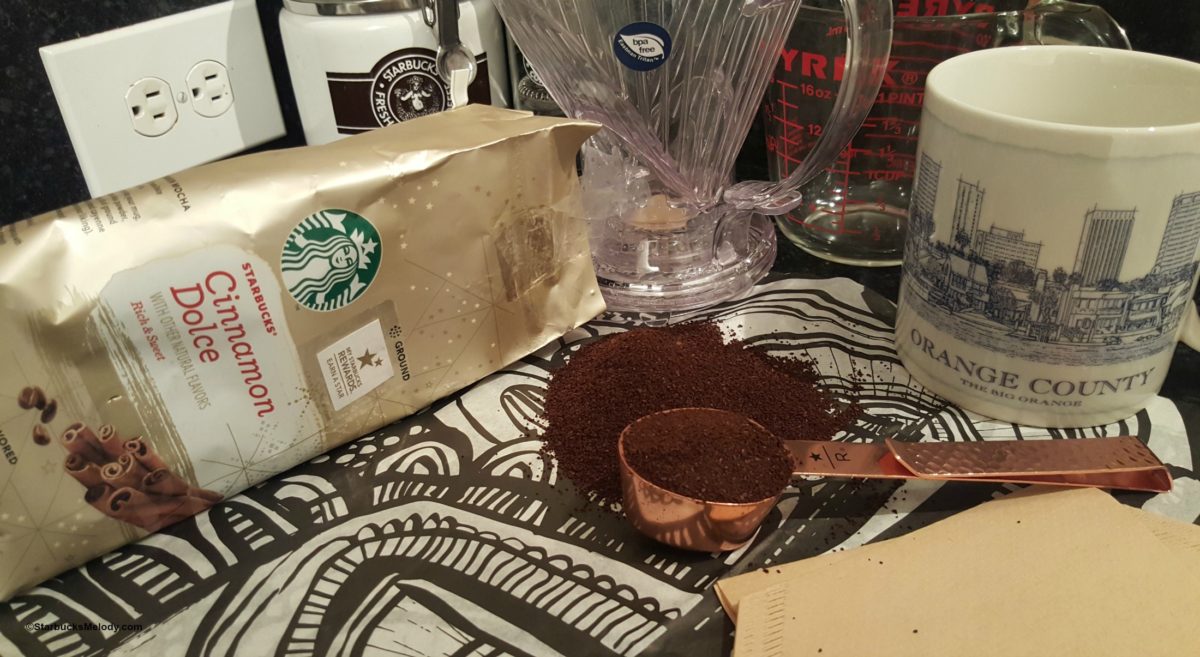
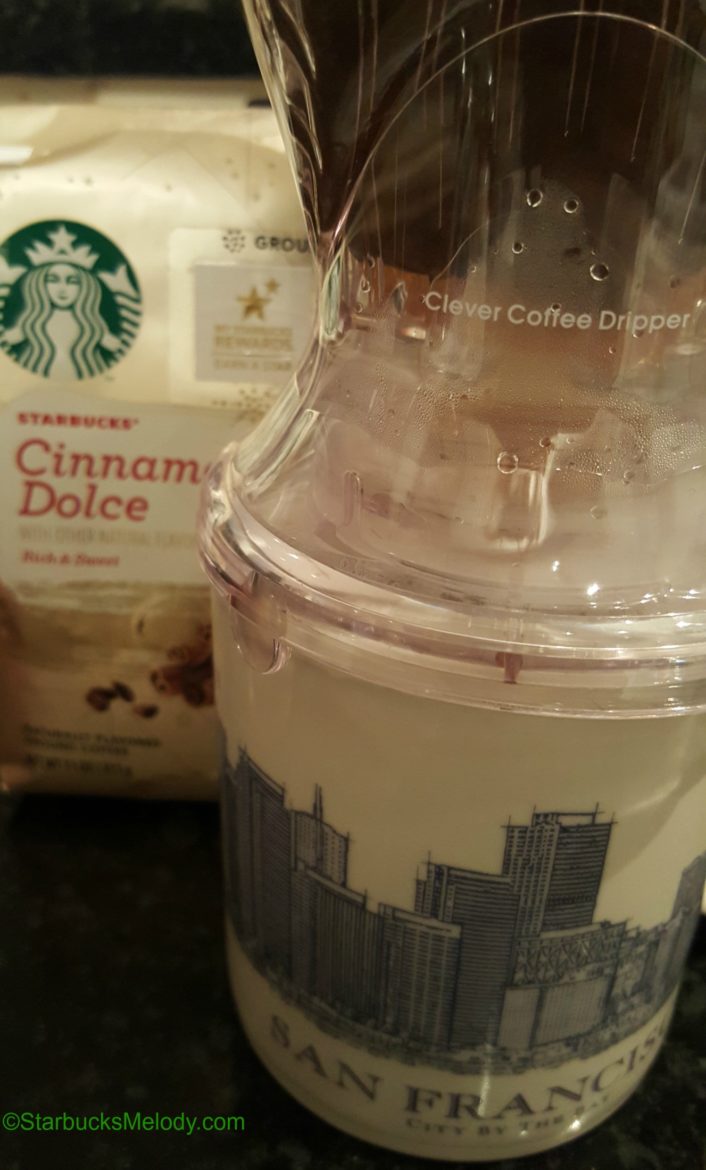 My first brew method will be the Clever Dripper. This is my favorite home brew method. It’s super easy to use. This truly takes very little effort. I found some Cinnamon Dolce Starbucks coffee in the grocery store. Very curious, I’m using that coffee for the Clever Dripper example. It’s pre-ground so I don’t have to worry about that step.
Put the #4 paper filter into the Clever dripper. Measure four tablespoons of coffee and pour it into Clever cone with paper filter. Boil water. Pour 12 ounces of hot water into the Clever dripper. Set the lid on the Clever dripper. Set the timer on your phone (or any timer) for four minutes. Once the four minutes is up, simply place the Clever dripper atop a coffee cup. The last step – placing the Clever on the mug – releases the coffee. That’s it. So easy. And it is to clean up too.
Your coffee essentially brews for 4 minutes inside the Clever cone which won’t release the coffee until it’s on top of a coffee mug. Use a fairly large mug, as show in the pictures above. Since your coffee brews inside the Clever for four minutes, you don’t have to worry about doing a careful circular pour, as with a Pour Over brew method. This is a forgiving brew method in the sense that you can pretty much dump 12 ounces of coffee into the Clever and end up with a fine cup of coffee.
Brew Method #2 The Pour Over

 For this brew method, you’ll need a cone (a porcelain cone or plastic cone – Melitta is one of the more common pour over cone brands), a paper filter, and again, we will use four tablespoons of coffee with 12 ounces of water.
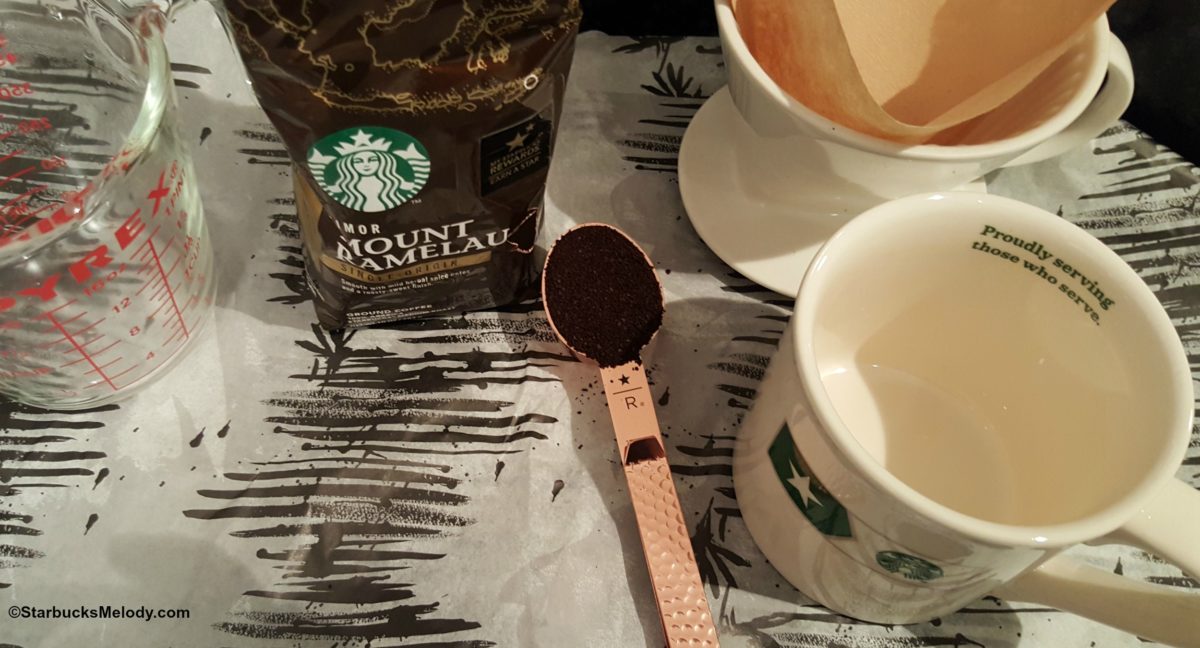
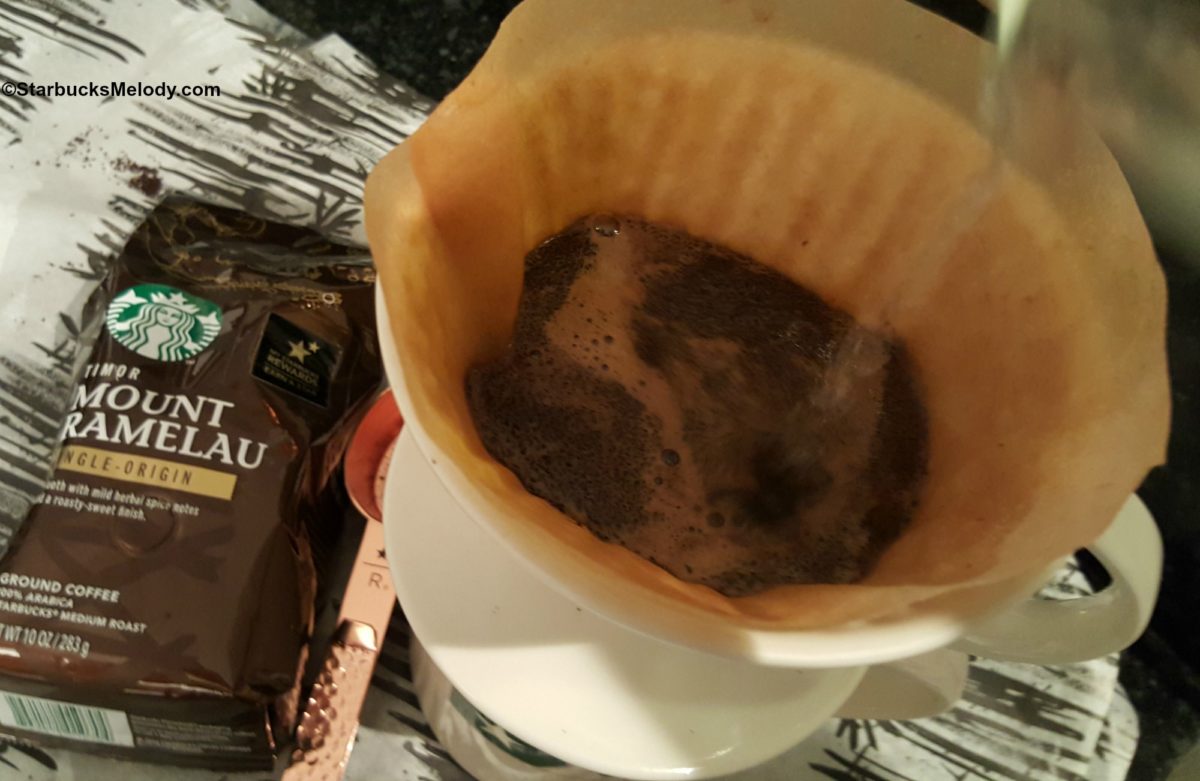
Like in the above Clever dripper example, I’ll be using a pre-ground coffee found at a grocery store. This time, I’ll be brewing Starbucks Timor Mount Ramelau single-origin coffee. Always know that the coffee you find in the grocery aisle is often different than the coffee you find inside a Starbucks store. Part of this just is that Starbucks wants to offer coffee selections that best suit the person who buys coffee at a grocery store – for that reason, you’ll find a lot more pre-ground coffee. There are actually many reasons that the selection of Starbucks grocery store coffee will always be different than in stores, but we’ll leave that for another article some day!
When I opened up the bag of Starbucks Timor Mount Ramelau, I noticed a strong aroma with almost an herbaly, cola aroma. The coffee itself is medium body and has a lot of flavor. If you were to try this side by side with the blonde roast Cinnamon Dulce coffee, you’d find the blonde roast to be very thin in the mouth in comparison to this Timor Mount Ramelau.
This was a lot of fun trying the Mount Ramelau coffee at home! I think you’ll like it. It works well as a pour over. For this coffee, I used one of my all-time favorite Starbucks mugs, the Starbucks Armed Forces Network mug (once in a while, it’s called the “roll call” mug. Partners, if you have served in the military or you’re currently a military spouse, sign up here.).
Brewing instructions for the pour over: Place the 4 tablespoons of coffee in the filter. Put the pour over on top of your coffee mug. Start by pouring a little water in the center of the pour over cone. You might see a small ‘bloom’ of coffee. Pause for just a few seconds. Pour water slowly over the beans, in a steady circular motion. It should take you about 2 to 4 minutes to brew a pour over cup of coffee. Voilà! A great cup of coffee!
Important tips for the Pour Over brew method or Clever dripper:
The best grind for a cone paper filter is relatively fine, like a granulated sugar.
Every true Starbucks coffee master that I’ve met recommends one more step not mentioned above: You should pre-rinse the paper cone coffee filter. Always boil a little more water than what you’ll actually need. Use boiling water to pre-rinse the filter. This is your “rinse” water. You’re doing this partly to get rid of any paper flavor that may come through your cup of coffee. Toss out the rinse water. Once your paper filter is pre-rinsed, then you’re ready to start the brew methods above.
I skipped the “pre-rinse” step. Hard core coffee masters will be wagging their fingers at me. I don’t see Starbucks partners in the stores doing a pre-rinse before a customer orders a pour over. It is my humble opinion that the average, ordinary coffee consumer won’t be able to tell a difference between a pour over (or Clever dripper brew) that has had the filter go through “pre rinse” versus one that has not. Nonetheless, if you do the “pre rinse” step and get a good smell of that “rinse water,” you’ll find that it does have a strong paper aroma!
Bloom your coffee: Of course a pour over involves you pouring water gently in a circular motion over the coffee. Pour slowly, and don’t pour the water down the sides of the filter. The very beginning of a pour over is sometimes called the step where you “bloom the coffee.” Start the pour over by pouring water in the center of the the grounds and all over the grounds. Don’t pour all your water at this time. Use just enough water that you’ve wet your grounds. Now stop and wait for about 15 to 30 seconds. Your coffee may release a little CO2 which causes the coffee to “bloom”. Now after the coffee has bloomed, restart slowly pour water over all the grounds in a circular motion. The whole process should take about two to four minutes.
Also I’ve noticed that there isn’t always a consensus about the grind for a cone-shaped paper filter. For sure, it should not be course like a French press grind. For pre-ground coffee in the grocery store, you’ll should be fine using any paper filter brew method.
Brew Method #3 – The French Press:
 Last but not least, we will get to the most classic brew method ever. For years, Starbucks advertised that the French press was the company’s preferred brew method. There is no paper filter with a French press. A French press releases more of the coffee’s natural oils into your cup instead of a paper filter, which means more flavor.
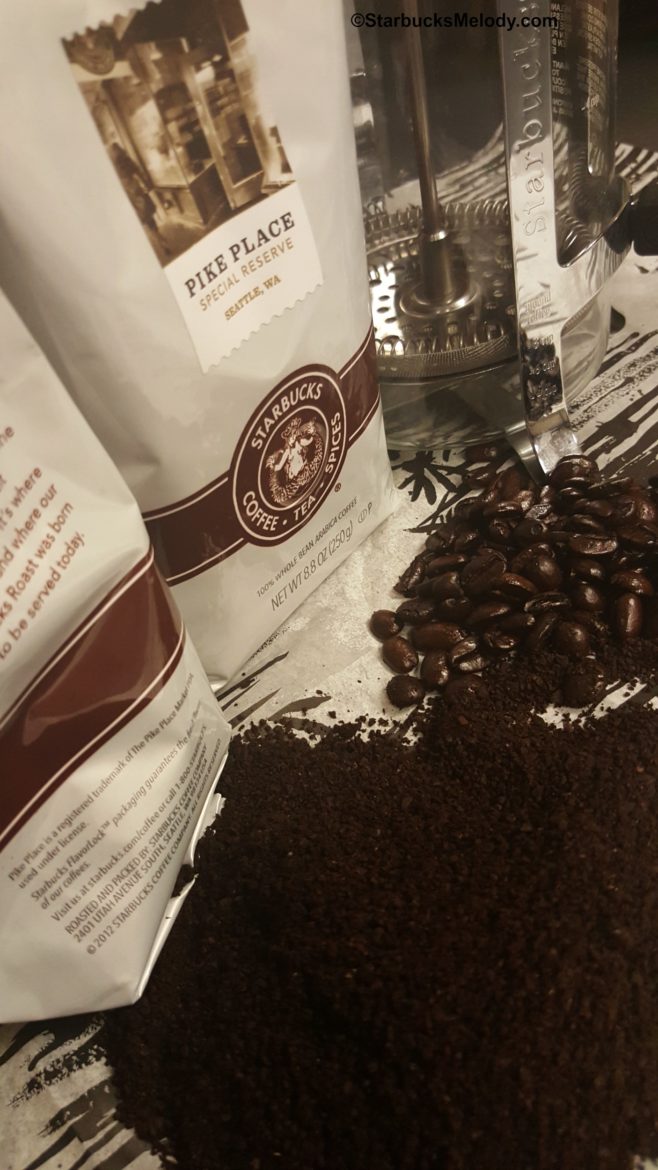
If you want to use the French press brew method, then you will need to either grind your own coffee or ask a barista to grind it for a press. You don’t want to use any grocery store pre-ground coffee. Pre-ground coffee is almost universally ground for a brew method that uses a filter, not a course grind, which is what you’d want for a French press.
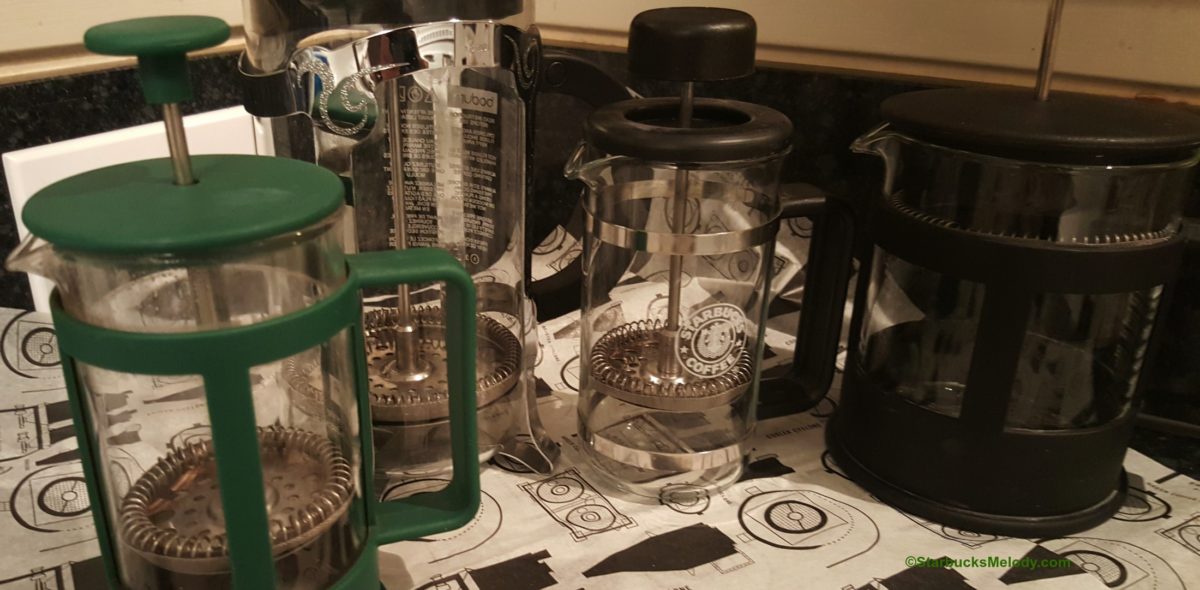
One nice thing about the press is that you can find them in many different sizes.
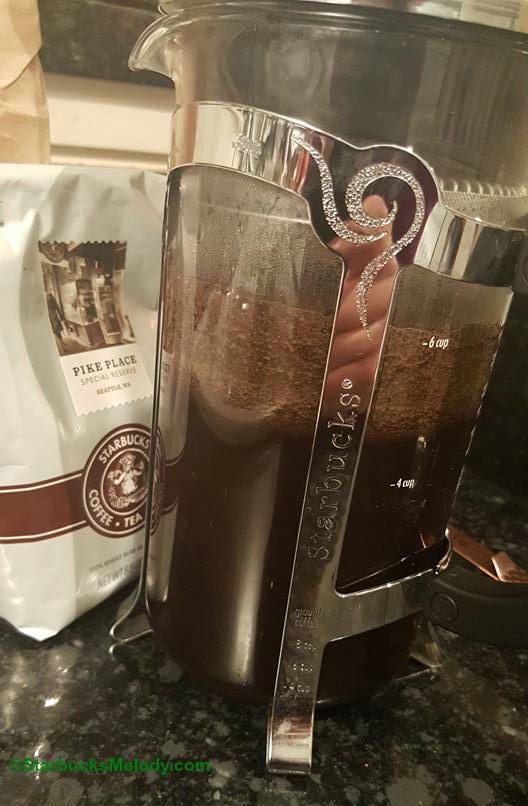
Simply place your coursely ground coffee at the bottom of the press. Add in water – make sure to maintain that right ratio of water to coffee. 10 grams of coffee (about 2 tablespoons) for every 6 ounces of water. Once you’ve added hot water just off the boil, set a timer for four minutes.
After four minutes, gently (and slowly) push the plunger down on the French press. You’ve got a great cup of coffee! I used Pike Place Special Reserve coffee for this example, which is exclusive to two Starbucks in Seattle: First and Pike and 1912 Pike Place.
Thoughts on Single Serve Brewers:
Both the Verismo and Keurig brewers are single serve brewers. For a long while, I used a Verismo. Basically at this stage, I’d suggest to you not to use any pod based brewer. It’s expensive. Keurigs have always produced watery coffee in my humble opinion. The beautifully compostable part of the coffee – that is the ground coffee – is layered between layers of non-recyclable plastic. Last year, Keurig was on track to sell 9 billion pods. That’s a lot of pods going into landfills and who knows where in our environment. Even the inventor the Keurig pod has been on-the-record saying he regrets inventing it.
I get it. We live in a land of convenience and lots of things end up in landfills. Think of all the candy wrappers, potato chip bags, and whatnot. It’s just that 9 billion little pods that have a lovely compostable thing enclosed in multiple layers of plastic is just a staggering thing to me.
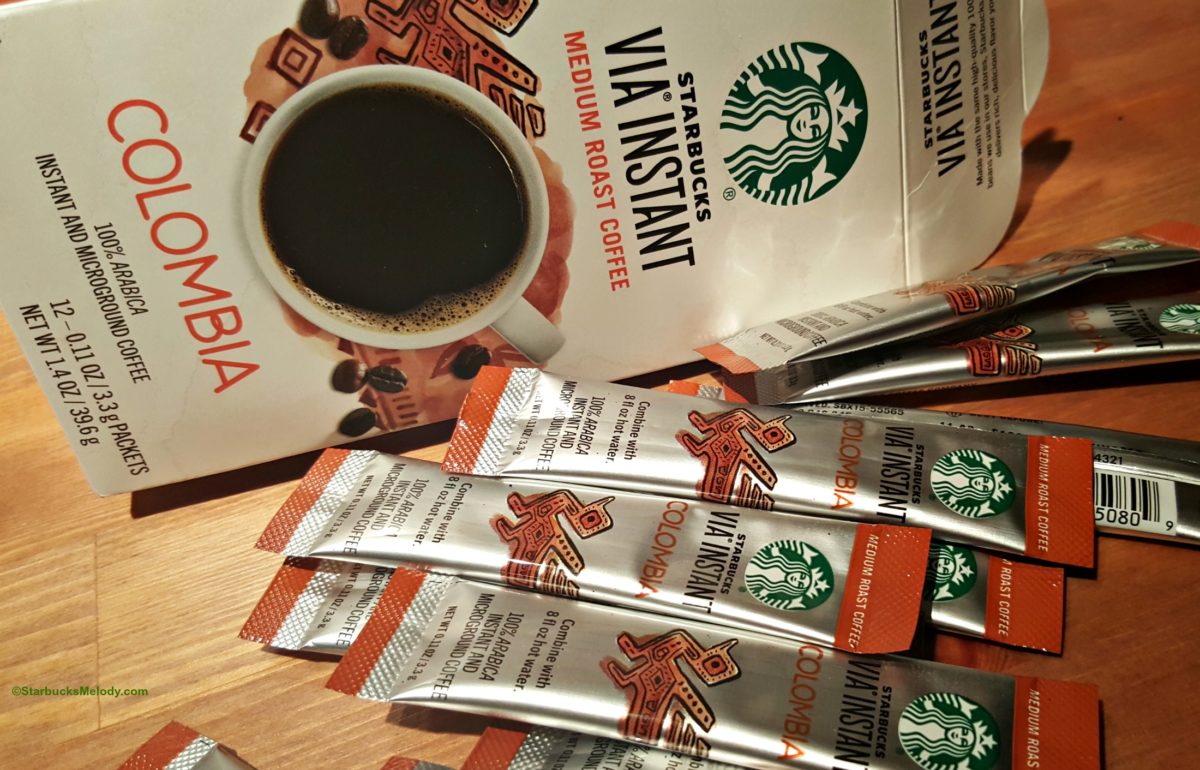 If you really want a single-serve cup of black coffee, I’d considered buying Via Ready Brew. It’s not quite the same level of damage that those tiny, non-recyclable, thick multi-plastic layered pods are. And Via is very good. I do use it now and then – sometimes I’ll have it at my office for when I can’t run to Starbucks.
Other final thoughts on brewing coffee at home:
Don’t reuse your coffee grounds. Once you’ve used them once, don’t try to make a second cup with used grounds. I’ve seen people try this.
Remember coffee is a farm product. How your coffee tastes is going to depend a lot on what you bought (including the roast profile and whether it’s a blend or single-origin coffee.)
You wouldn’t go to the grocery store and buy some Honey Crisp apples and think that they’d taste the same as a Red Delicious apple. An apple isn’t just an apple – how it tastes depends on what you bought. The flavor of the coffee depends a lot on what varietal you bought (or if it is a blend), how the farmer processed the coffee, and the roast profile. That’s an over simplification but just as I know my readers wouldn’t expect every apple to taste the same, you should know that not all coffee tastes the same.
If you’re at a Starbucks and have questions about coffee, look for the baristas wearing black aprons. They’re coffee masters. The only way for a Starbucks barista to wear a coffee master black apron is to earn it and be certified.
Hope you’ve enjoyed this coffee lesson with Melody!
22 Comments
Leave a Reply
You must be logged in to post a comment.
Socialize


Love this article! Guilty of owning a keurig. I have been looking into a Clever and think you sold me on it!
Thank you Diele! I really think that the Clever is the easiest of the brew methods. It’s forgiving – no special pouring talent required!
I love this! So much wonderful (and correct!) Information in one place! Thank you for sharing, as always!!! 🙂
Melody I love reading your blog! Thanks for all this great information. I have a French press and have tried pour overs, but am definitely going to try a clever now!
@Kim and @Elisabeth – Just wanted to say thank you for the nice comments! I will cheers you with big mug of black coffee! 🙂
please please please wet the filter.
it makes a huge difference, not only in taste, but it prepares the filter for brewing.
I’ve found that it helps to preheat my cup beforehand with hot water. It keeps my coffee hot for longer.
@Jared – That is a very good tip! Works well to pre-heat a ceramic mug. Wish I’d mentioned that!
@Jocelyn – I know you’re right. When I do the step of rinsing the filter, I’m always amazed at how terrible the rinse water is – it had a terrible aroma of paper, and sometimes it looks discolored. It’s bad! You’re right that that has to be influencing the coffee flavor!
I do love ALL your blog posts, Melody, but these are by far my favorites. I suppose I’m a coffee geek of sorts, and I really do enjoy reading (and putting into action) these types of things. Just got my Clever in the mail yesterday. I think I’ll go make a cup of something delicious right now!
These are great tips and reminders, so thanks for posting them Melody. Recently we ditched the Keurig machine at home for making coffee. I swear the coffee from a Keurig, no matter how clean we kept ours, always made the coffee taste funky. It took my wife and daughter awhile to come around, but it was their decision to get it out of the house. I’m not sure if you remember, but I was never a fan of Starbucks pour overs. It was probably because Starbucks Partners I found, were not properly trained how to make them. They would just dump the water. We recently tried a pour over from a grocery store chain out of Ohio that located in Chicago suburbia. It was made by a friend who was once a barista at a Starbucks licensed store. I decided that the pour over method, using the right equipment, may be the way to go with the Keurig now gone. I may even start buying coffee from that store, Intelligentsia and from a few other local coffee roasters. Those might be alternative options besides Starbucks. I was kind of hoping Starbucks would have sold the Reserve – Decaf Costa Rica Bella Vista, in stores, but they didn’t. Now I just need to decide which pour over device I should buy.
Via *is* very good! Although I don’t drink coffee, I’ve made macarons with via and they’ve turned out very nice! Since those tiny cookies are so delicate and temperamental, it only makes sense to use good coffee for the coffee flavoured ones!!
Love the article! Have a Cuisinart Single Brew, but definitely want to try a Clever Dripper. Still want brewed coffee, especially on weekends. Just a note about the coffee pods. Used to recycle the plastic keurig pods after cleaning them out because did not want to put in landfill. Found a coffee company that has biodegradable pods. Company is called “San Francisco Bay Gourmet Coffee Co.” Exclusively order from them. Now my grocery store carries some of their single brew coffees.
Great article! I picked up the Clever when I was in Seattle a week ago. I’m still experimenting with the strength. I haven’t quite got it right (not using enough coffee), but I’m getting there.
I had been using a Keurig single cup, but I’ll probably use the Clever from now on for my “regular” coffee. I do have a Rivo, which makes lattes easily, and I won’t be giving that up. On the plus side, the cups are about half the size of the standard Keurig cup, so not as much waste, and I don’t use it as often as I did my regular Keurig.
I like how you said, “A French press releases more of the coffee’s natural oils into your cup instead of a paper filter, which means more flavor”. A french press is my personal favorite way to make coffee. It is easy to make and allows for the most flavor. Is there a french press that you like to use better than others?
As most know, there are many variables to producing an excellent (and as importantly a) consistent cup of joe:
the coffee
it’s age
the grind
the consistency of the grind (small vs. large particle size ratio) as smaller turns acidic sooner
water temp
pour technique (if doing “pour over”)
brew time
ECT!!!!!
SIMPLE METHOD: (when compared to pour-over via paper and to produce a relatively clear fruity brew):
medium grind 1.1 oz of good coffee (PIKES PLACE?? one of my favorites) per / 16 oz of desired coffee
dump into 18oz filtered water @ 200degF (lower for dark roast)
wait 30 seconds then stir and watch the change!
THE KEY: judge by watching the change in the creama (foam) color/consistency (red/brown to yellow and thinning as this is the acids coming out)
pour thru a Bounty paper towel into your vessel (the paper towel filters VERY quick)
WHY THIS WORKS: it bypasses all the so called ”science” out there. Good coffee is simply a balance between acidy and fruitiness, clarity and oiliness. This method will not produce French Press cup body nor will it produce a true Chemex clarity cup, but this will enable you to stop the brewing process instantly based on a visual and THAT with practice will simply get you a consistent result within the basic limitation of the filtration process. … give it a few tries. Some may call this “camp coffee” as they have spent countless dollars on expensive brewers, but I have yet to see another method that relies on virtually instantaneous visual control of a VERY complex chemistry that is infulenced by many (some uncontrolable) variables. Best of luck to you!
For those who don’t understand the limitation of a conventional drip coffee maker as compared to the hand process described or other methods such as pour-over, the issue is it simply has no control over time. If you brew 4 cups vs 8 cups the time is double and so is the acid accumulation from what is initially saturated. While it can work brilliantly for some portions it does NOT for others. It is either under cooked or over cooked. Hope this helps.
Great article! I need to find a French press now =)
I just read this entire article to my husband and we learned a great deal. Thank you.
You can check out Starbucks website for awesome videos (see 2 great examples below) that you can play while you learn how… I just ordered my first “pour-over” and can’t wait 🙂
FRENCH PRESS VIDEO: http://store.starbucks.com/classic-chambord-copper-press-by-bodum-8-cup-011042335.html?&srule=Featured&start=0&sz=12&cgid=coffee-presses&nofilter=false
POUR OVER VIDEO: http://store.starbucks.com/starbucks-classic-pour-over-brewer-2-011019636.html?navid=xsellPDP
I love mu post because more than 3/4 of the time I order a venti bold. I’ve been considering buying a nespresso machine for over a year now but It has the “keurig problem.” I wondered if you ever tried nespresso coffee or espresso? If so, I would love to hear your opinion.
QUESTION: Anyone know if it is acceptable to use a permanent “gold” cone filter in place of paper filters for the Pour-Over?
@ Melody: Appreciate this article too! You are so right about making sure your coffee is fresh. A Starbucks coffee master told me that the water quality is an important element too so I try to use filtered H2O whenever possible.
I have used an espresso maker for years because I like extra-bold lattes and it always ensures a consistent cup.
Then I tried making my own cold brew (admit I have NOT gotten it to be nearly as good as one Starbucks offers @ some of its stores, even tho I always use Starbucks coffee, so I still need to tweek it.
Cold brew is so easy to make, not to mention convenient when you want an instant “fix” 🙂
Recently to my surprise & delight I found my first (ceramic) pour-over to be not only super-easy, but very good too!
It is actually FUN to brew & try coffee in these “new” ways 🙂
Great article melody. I have a espresso machine and drink specialty drinks but I’ve always wanted to drink a great cup of coffee and I think that I’m gonna purchase clever. Thank you for this
Very helpful article as I’m always looking for ways to perfect my coffee. Any suggestions on how to make an Americano? You mention that 10 grams is the equivalent to 2 tablespoons. Did you mean 2 teaspoons?